
GDPR: how to automatically delete sensitive content
These days, I get a lot of questions from customers how to make sure that for example a resumé is automatically deleted after a predefined timeframe. I receive this question a lot because of the GDPR legislation. To accomplish this, you have multiple options. Keep in mind that this blog is not covering in-depth knowledge of the products itself, nor how to configure regex (let me know if you’re interested how to do this in these scenario’s, I might make a blogpost about it), but rather giving you a good idea which tool you should use in which scenario.
So, in case when you have an applicant on a job offer, the person sends you its resumé somehow (by e-mail, sharing through OneDrive etc.) and you download it to the company share (SharePoint Online or locally). In all scenario’s you need to make sure that, whatever way the resumé is received, you catch it and set an expiration date.
Note: Every product to accomplish this have its caveats. You need to make sure that you align the job applications with the way you handle your sensitive data.
Depending on the license you have, you can use these products for achieving above:
Let’s see how these products can achieve this.
1. Azure Information Protection
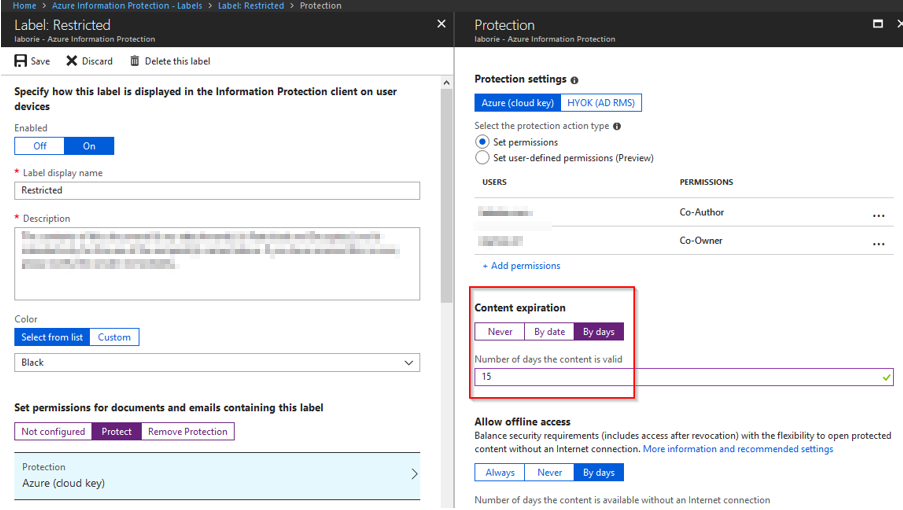
First you need to configure a label with content expiration. Go to the “Azure Portal > Azure Information Protection > Labels > Protect”. Under “Content expiration”, set the content to expire “By days” or “By date”. When the content expires, you can no longer decrypt the content which makes it unreadable:
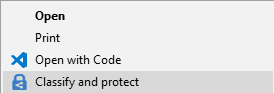
Now classify the document You can easily do this by right clicking a PDF or Word document and click “Classify and protect”:
Click the label you configured with “Content expiration”:

If you view the custom properties of the document, you can see it’s now classified as “Confidential”:

In my opinion, the problem with this approach is the chance on forgetting classifying a document. So, if you choose Azure Information Protection for achieving this, make sure no documents get through without classification and give your users clear instructions.
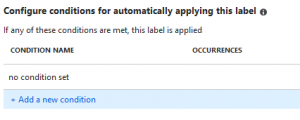
Another way with Azure Information Protection is the automatic labeling function. You can do this, based on document content. With PDF-files however (and any filetype other than docx, pptx, xlsx), you can only achieve this with the AIP scanner (check point 3). To configure automatic labeling, take the same steps as before but also configure a condition and create a regex policy or fill in predefined keywords:
2. Cloud App Security
Using Cloud App Security, you can automatically classify documents when they reside in a specific folder or when the document contains sensitive information. Personally, I would love the last one, but it’s currently not possible to scan PDF files with Cloud App Security so the first option is the only working option at the moment.
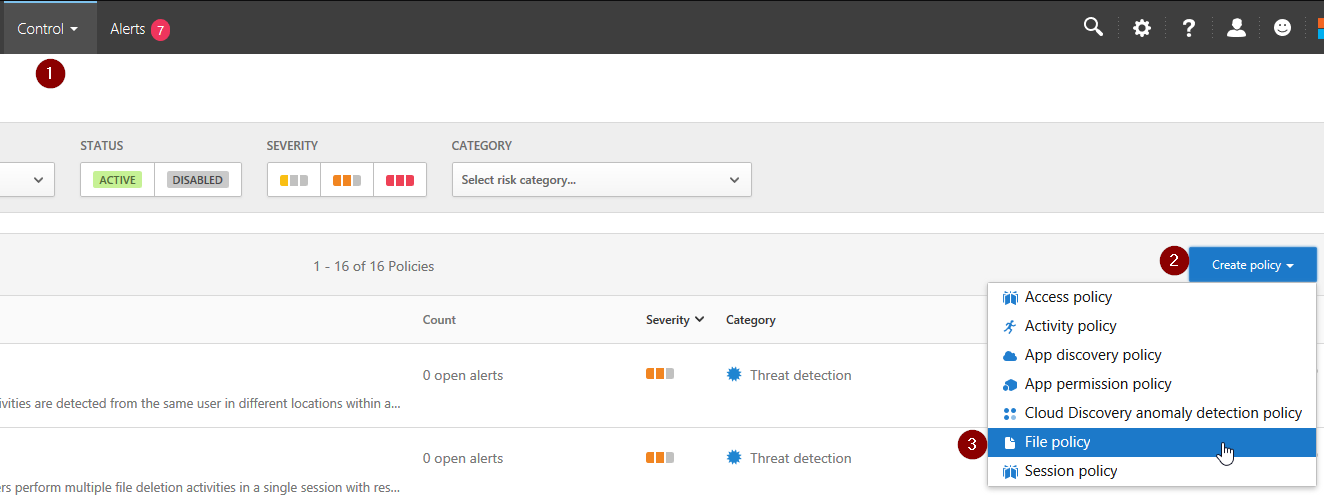
We will discuss both options however. First let’s see how it works when sensitive files are stored in a specific folder. Go to https://portal.cloudappsecurity.com/, click “Control > Policies > Create policy > File policy”:
Select as condition “Parent folder” and select the folder:

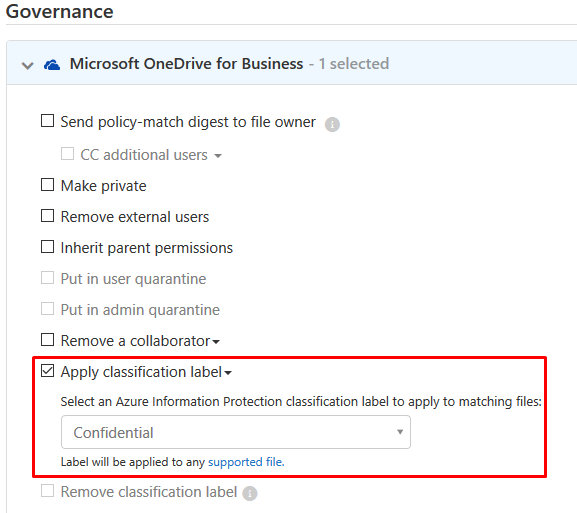
Apply a classification label beneath “Microsoft OneDrive for Business” and “Microsoft SharePoint Online”:
Create the policy, now all content in that folder will have automatically the content expiration activated. Of course, you need to configure content expiration for the label set. See step 1 for more details.
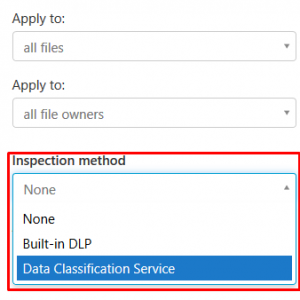
Let’s see how automatic labeling with Cloud App Security works. Create a File policy again and scroll down till the “Inspection method” part. We skip the conditions for now since we did that just before and it’s straight forward as well.
Select “Data Classification Service > Match if Any of the following occur > Choose inspection type… > Select a sensitive information type”:
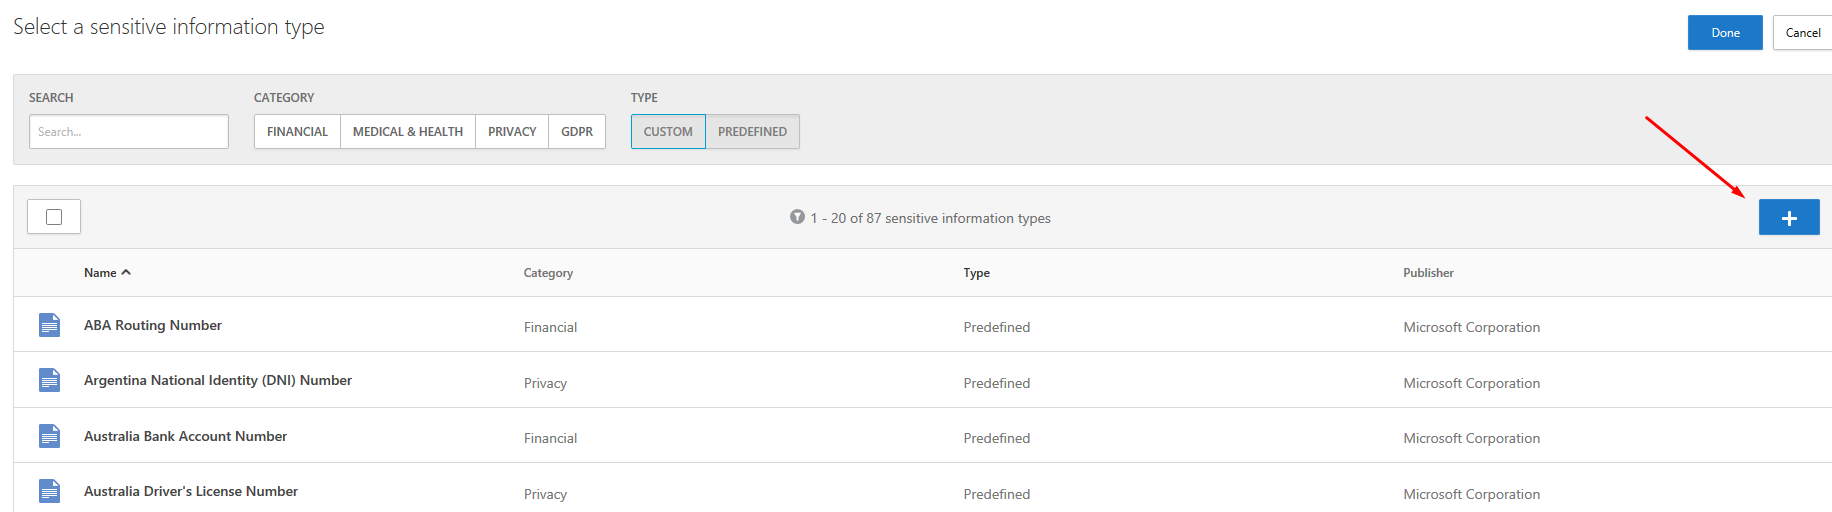
Here you can select a sensitive information type, or you can add a custom information type. You need to know regular expressions, but it’s not too hard.
For adding a custom information type, click the + button on the right:
Once added, click “Done” and navigate to the bottom. Now again select the classification label you want to apply for “Microsoft OneDrive for Business” and “Microsoft SharePoint Online”:
All matched files are now automatically classified with “Confidential” (make sure you configure the content expiration again in Azure Information Protection).
Remember, it’s not working yet with PDF-files but will be available in future versions.
3. AIP Scanner
This is more or less the same as step 2, only the tool is different and it’s possible to scan PDF files. You still need to know regular expressions (or you need to choose predefined templates like “Credit Card Number”). the scanner uses the Office 365 data loss prevention (DLP) service. For configuration of the filetypes in DLP, see point 4.
The actual configuration of the AIP scanner is not covered in this post, since there are already many great posts how to do this.
4. Data Loss Prevention
DLP has great potential for achieving this task, especially because you can connect with Exchange Online which means you can scan e-mail attachments and restrict or encrypt the content when a condition matches.
However, one big flaw is that DLP cannot scan PDF files (yet), same goes for Cloud App Security. They both use the same core functionality, but I expect this possibility the coming months. Till then, we cannot use this functionality for scanning PDF files.
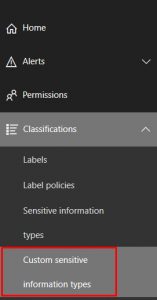
To create a custom classification type to use within a DLP policy, go to “https://protection.office.com > Classifications > Custom sensitive information types”:
Now click “Create” and add a Regular expression:
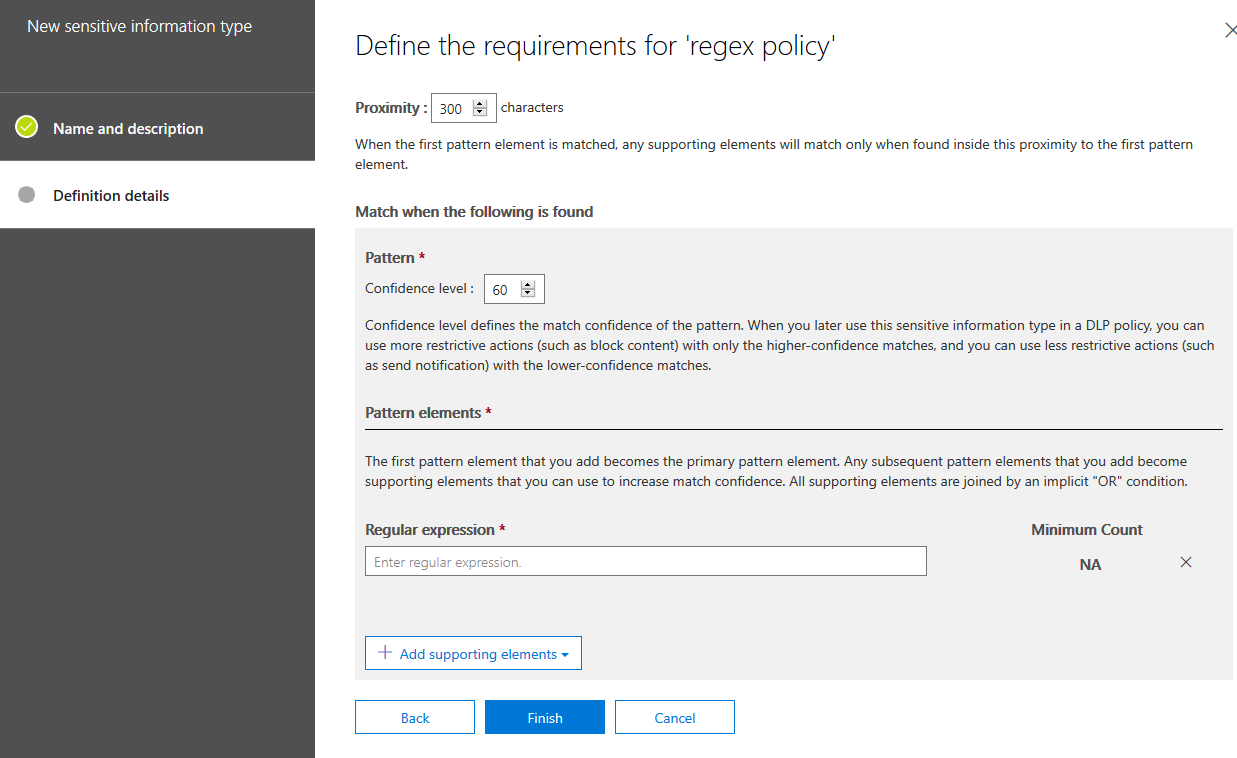
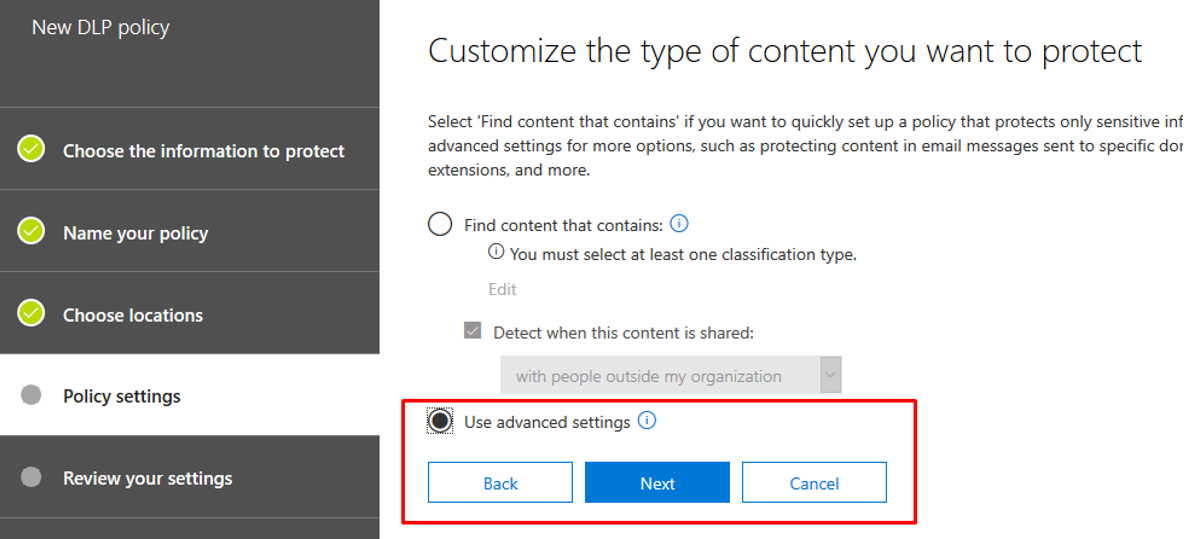
At this point, click “Finish” and add a DLP policy. Click on “Data loss prevention > Policy > Create a policy”. Walk through the steps, at the “Policy settings” tab click “Use advanced settings”:
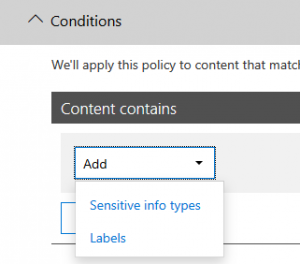
Click “New rule” and within the “Conditions” tab, click “Content contains > Sensitive info types”:
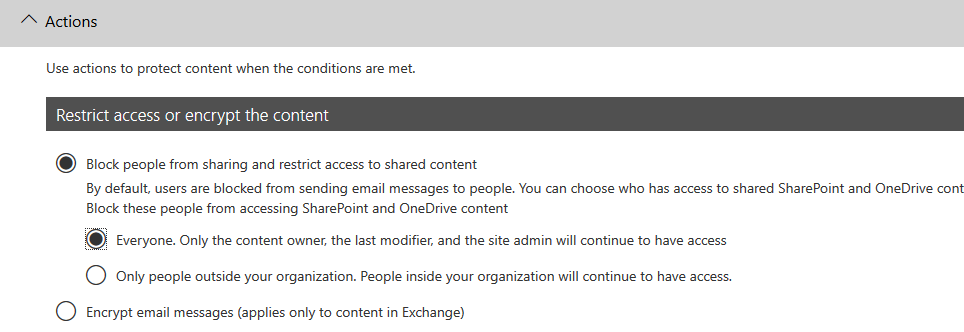
Now select your just created custom policy. On the “Actions” tab, select “Block people from sharing and restrict access to shared content” and “Everyone. Only the content owner, the last modifier, and the site admin will continue to have access”:
Fill in the other desired settings and save the policy.
5. Exchange Online retention policies
With Exchange Online retention policies, you can achieve best of all worlds. You can just delete content matching a custom information type that you created with regex. So, it’s possible to apply this to Exchange, SharePoint and OneDrive!
Go to “https://protection.office.com > Data governance > Retention > Create”. Create a custom retention policy and add a “Sensitive info types”:
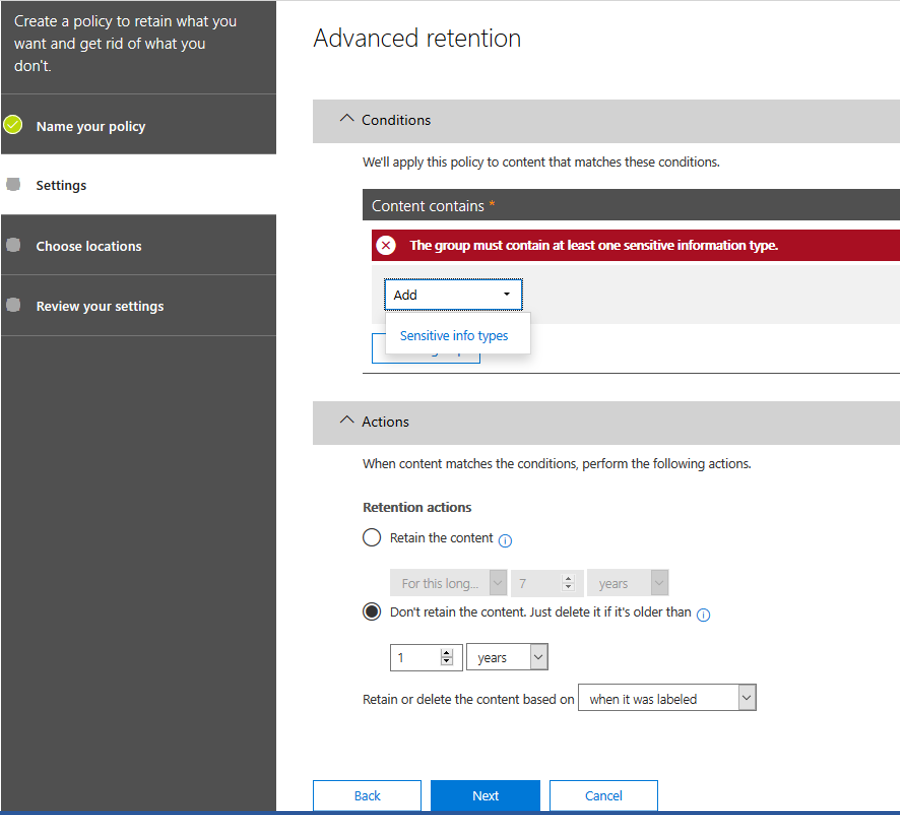
Make sure you delete the content after the period you define, from the data when it was labeled.
One caveat with this option is that you don’t have much conditions. You can only choose to which location you want to apply it (SharePoint Online, OneDrive or Exchange Online).
As you figured out by now, it’s impossible to use one tool for scanning your complete environment (if you both use on-premises file server and cloud-based file servers). Also, scanning PDF-files is apparently hard and even impossible to scan Exchange Online PDF files with a tool like Azure Information Protection, Data Loss Prevention or Cloud App Security. Fortunately, it’s possible with retention policies.
In the scenario where you only use SharePoint, OneDrive and Exchange Online and you also want to scan PDF-files, the best option would be using retention policies. Keep in mind that you do not have much options in conditions. In case you need more freedom in conditions and still need to scan PDF-files, you have to wait for this functionality to become available in AIP, DLP and MCAS.
You might have an on-premises file server as well, where you want to apply labels automatically, you need the AIP-scanner since it can scan PDF files.
If you have any questions, feel free to contact me or place a comment below.
Such a great article. Thanks!
Do you know much about the behavior of the expiration itself? We have a DLP policy set up that finds PHI in Exchange and applies an AIP label to it. That AIP label has a 1-day expiration built into it. During testing, it appears the recipient is still able to view the email after 1 day has passed (and longer). This is frustrating, because it is not behaving the way one would assume. Is there a 30-day grace period or something if the content was viewed before the built in expiration period was reached? Expected behavior would be for the recipient to receive the email, then the recipient would lose access to that email after 1 day passes.
Thanks so much for any advice!
– Jeff J